

Blog
Wide-Belt, Drum, Edge, or Spindle Sander? Choosing the Right Sanding Machine

Sanding & Finishing
Wide-Belt, Drum, Edge, or Spindle Sander? Choosing the Right Sanding Machine
Start with the surface, shape, stock-removal goal, and production flow to determine which sanding-machine format belongs in your shop.
“Sanding” can mean calibrating a panel, removing machining marks, preparing an edge, smoothing a curved component, or creating the final surface before finishing. Those operations do not place the same demands on a machine.
The right comparison begins with the surface that must be processed and the result required from that step. Machine format comes after the work is defined.
Identify the sanding objective
For each part family, record what the sanding operation must accomplish:
- Dimension or calibrate material to a consistent thickness
- Remove planer, saw, glue, or machining marks
- Level a panel or assembled component
- Prepare a surface for stain, paint, veneer, laminate, or coating
- Sand straight or profiled edges
- Smooth inside curves, cutouts, or irregular shapes
- Break edges or perform another defined finishing operation
Also document the incoming surface. A process intended for light finish sanding may not suit parts with significant thickness variation, heavy adhesive residue, protruding fasteners, or inconsistent glue joints.
Understand the main machine formats
Wide-belt sanders
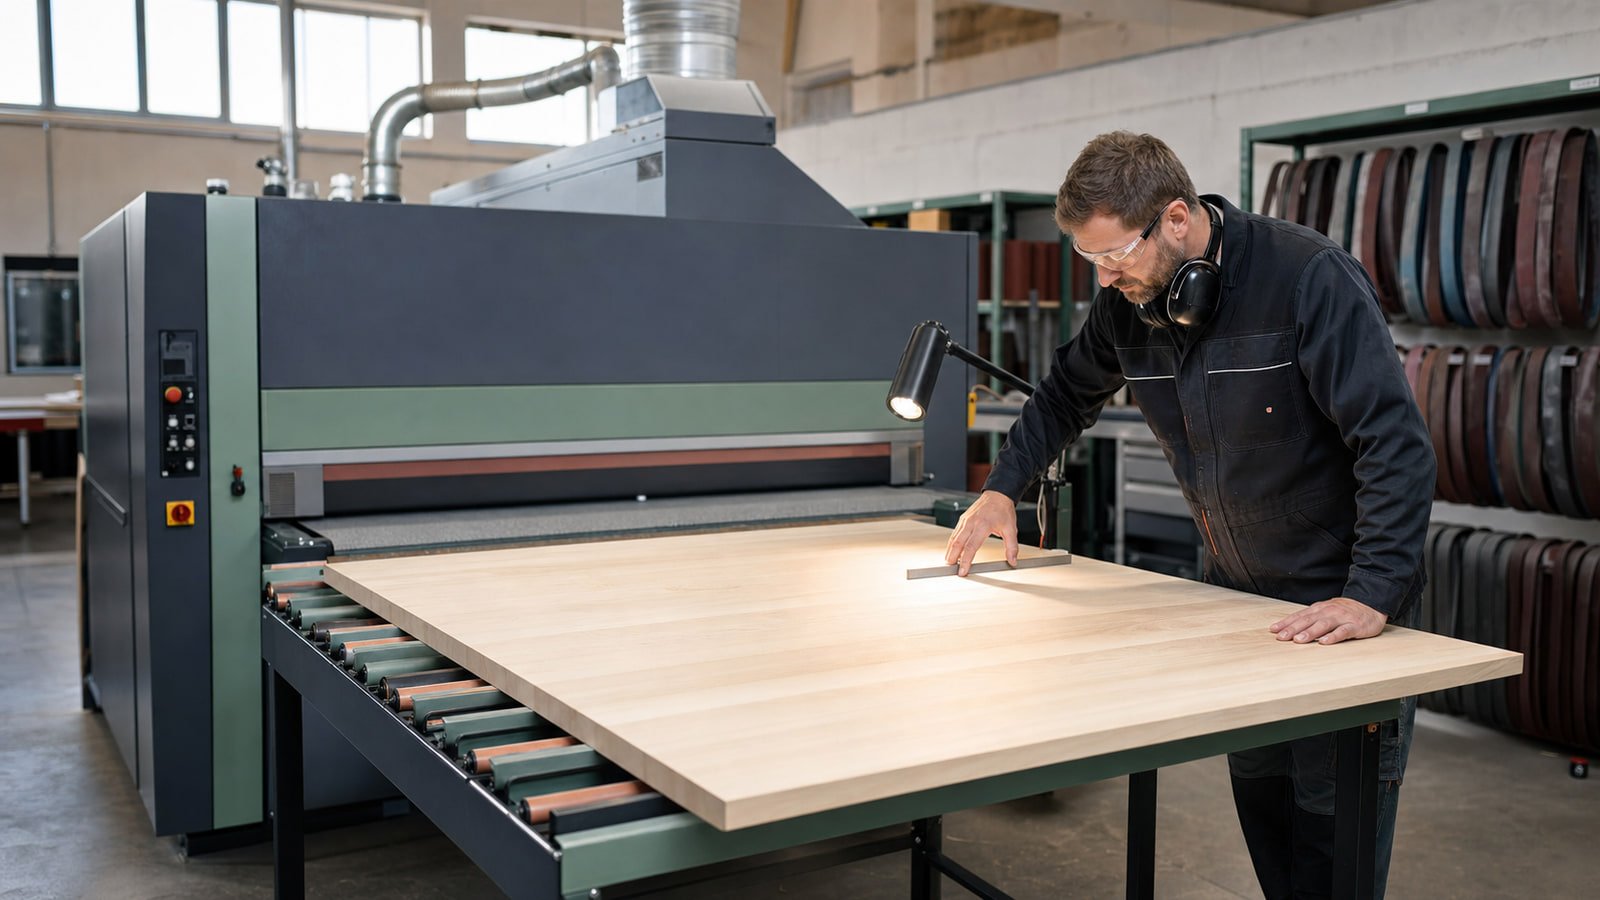
Wide-belt machines are commonly considered for panel calibration, surface preparation, and production sanding. Configurations can vary widely. Compare the number and type of sanding heads, working width, thickness range, feed system, abrasive dimensions, controls, and the sequence of operations the machine supports.
If the machine has multiple heads, identify what each one is intended to do. A contact drum, platen, combination head, brush unit, or other finishing station should be evaluated against the actual material and surface requirement.
Drum sanders
Drum sanders can support thicknessing and surface sanding in smaller-scale or specialized workflows. Review the usable width, thickness range, feed control, abrasive-changing method, stock-removal limits, and the number of passes needed for representative parts.
Do not assume a drum sander performs the same role as a planer or a multi-head wide-belt machine. The correct sequence depends on the stock condition and desired finish.
Edge sanders
Edge sanders are built around the side of the workpiece. Compare straight and profiled-edge capability, table adjustment, platen or contact-wheel arrangements, oscillation, fence and support design, and how long or heavy parts will be controlled.
If the shop handles solid-wood doors, frames, panels, or narrow components, map the operator’s hand position and the support needed through the full pass.
Spindle sanders
Spindle sanders are useful for inside curves, radiused edges, openings, and shaped components. Compare spindle diameters, stroke, table size, table tilt where offered, sleeve availability, dust collection, and how the part will be supported without contacting an unintended area.
The smallest radius and tallest edge in the normal product mix help define the required spindle and working envelope.
Compare the workpiece range
Record routine and maximum part width, length, thickness, and weight. Confirm the machine’s minimum dimensions as carefully as its maximums. Small or short parts may require special carriers, fixtures, or an entirely different process.
For panels, check whether the feed system can support the material without slipping, skewing, or marking. For solid wood, consider grain direction, figure, moisture variation, and the risk of removing material unevenly. For assembled parts, note protrusions, joints, coatings, or adhesives that may affect the abrasive or machine.
Build an abrasive plan
The machine and abrasive must be selected together. Review abrasive format, available grits, backing, joint style, compatible dimensions, storage requirements, and changeover procedure. The correct sequence depends on the starting surface, material, removal target, and finish requirement.
Avoid choosing a machine based only on the finest grit it can accept. Production depends on the complete progression: how much material each step removes, how heat is controlled, how scratches from the previous step are addressed, and how frequently abrasives must be cleaned or changed.
Test representative material when possible. Examine the surface under the lighting and finishing conditions used in your own process.
Examine feed, controls, and repeatability
For powered-feed machines, compare feed-speed adjustment, thickness setting, head positioning, calibration access, and how settings are recorded or recalled. Ask what the operator must measure before and after a pass.
Useful questions include:
- How is the machine referenced and calibrated?
- How is abrasive wear accounted for?
- Can a prior setup be reproduced after a changeover?
- What protects the machine from an oversized or incorrectly prepared part?
- How are feed belts, rollers, platens, and heads inspected and adjusted?
Repeatability depends on machine condition, abrasive condition, material consistency, setup, and measurement—not a control-panel number alone.
Plan dust extraction and housekeeping
Sanding creates fine dust that must be addressed at the source and throughout the work area. Confirm the machine’s connection points and extraction requirements for the exact configuration. A qualified dust-control professional should evaluate duct design, collector performance, filtration or discharge, simultaneous machine use, combustible-dust risks, makeup air, and applicable requirements.
Include cleaning access in the comparison. Review where dust can accumulate, how abrasive compartments are reached, and which cleaning methods the manufacturer permits. Compressed air is not an appropriate default for every cleaning task; follow the machine manual and the facility’s dust-safety procedures.
Verify utilities and operating space
Check electrical voltage, phase, frequency, load, disconnect, compressed-air requirements, and any environmental limits. Add clearance for doors, head access, abrasive changes, infeed and outfeed, controls, dust ducting, and maintenance.
Long parts can create an operating footprint far larger than the machine. Draw the longest routine workpiece at the infeed and outfeed positions before approving the location.
Compare with representative samples
A useful sanding trial starts with material that reflects normal variation. Label each sample and record:
- Starting material and surface condition
- Abrasive type and grit sequence
- Head configuration and settings
- Feed setting
- Number of passes
- Measured thickness before and after
- Visible defects, scratches, burning, rounding, or other observations
- Preparation required before the next production step
The goal is not a showroom-perfect sample produced under unknown conditions. It is a documented process your shop can understand and repeat.
Information to include in a sanding equipment request
Send:
- Part photos or drawings
- Material and coating information
- Routine and maximum dimensions
- Incoming surface condition
- Required stock removal and final surface
- Typical batch size
- Current abrasive sequence, if one exists
- Electrical, air, and dust-collection information
- Floor-space and material-handling limits
- A sample-testing request, when applicable
Choose the sanding process around the part and the finish—not the machine label alone.
Request Sanding Equipment Guidance
Share the machine, material, application, utilities, and site details that matter to your project.
Request Sanding Equipment GuidanceRelated Reading
More Machinery Guidance
What to Compare Before Buying an Edgebander
Define your panels, edge materials, finish standard, production pace, utilities, and maintenance plan before comparing edgebander configurations.
Read guide
Planning Dust Collection for Multiple Woodworking Machines
Build a shop dust-collection plan around connected machines, simultaneous use, duct resistance, filtration, waste handling, facility conditions, and future changes.
Read guide
Jointer, Planer, or Combination Machine? Mapping the Stock-Preparation Workflow
Understand what each machine contributes to flattening, straightening, and thicknessing stock before deciding between separate and combination equipment.
Read guide